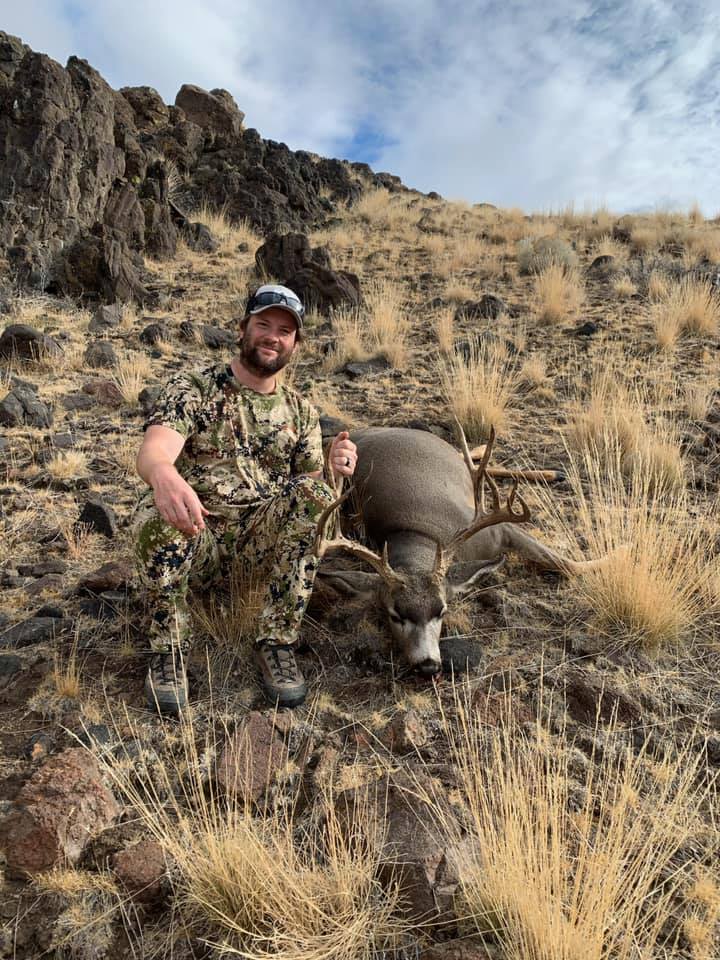
A Step-by-Step Guide to Field Dressing a Deer
Field dressing a deer is an essential skill for any hunter, as it helps ensure the meat remains in good condition until it can be properly processed. Field dressing involves removing the internal organs of the deer to prevent spoilage and reduce the weight of the carcass for transport. In this step-by-step guide, we’ll walk you through the process of field dressing a deer, providing helpful tips and advice along the way.
Preparation: What You’ll Need and Safety Considerations
Before you begin field dressing your deer, it’s important to gather the necessary tools and take some safety precautions. Here’s what you’ll need:
- A sharp, high-quality hunting knife or field dressing kit
- Rubber or latex gloves to protect your hands and prevent contamination
- A rope or gambrel for hanging the deer (optional, but helpful)
- A clean cloth or paper towels for wiping your hands and knife
- Plastic bags for the heart, liver, and other organs you wish to keep
Additionally, keep the following safety considerations in mind:
- Wear blaze orange or another high-visibility color to alert other hunters to your presence
- Ensure the deer is deceased before you begin field dressing
- Be cautious when handling your knife to prevent accidental injuries
- Dispose of the entrails properly to avoid attracting predators and scavengers
Step-by-Step Guide to Field Dressing a Deer
With your tools and safety precautions in place, you’re ready to begin field dressing your deer. Follow these steps for a successful and efficient process:
Step 1: Position the Deer
Lay the deer on its back with its head elevated, if possible. This position allows for easier access to the abdominal cavity and helps gravity work in your favor when removing the organs.
Step 2: Make the Initial Incision
Begin by making a shallow incision at the base of the sternum (breastbone), being careful not to puncture the intestines or stomach. Use the tip of your knife to slice through the skin and the thin layer of muscle underneath, cutting in a straight line down the center of the belly towards the anus.
Step 3: Cut Around the Genitals and Anus
When you reach the genitals, carefully cut around them and the anus, taking care not to puncture the bladder or intestines. This step helps ensure that the entire digestive tract can be removed without contaminating the meat.
Step 4: Open the Abdominal Cavity
With your initial incision complete, use your fingers to separate the skin and muscle from the abdominal cavity, creating an opening large enough to work in. Be cautious not to puncture any internal organs as you do this.
Step 5: Remove the Intestines and Stomach
Begin by carefully cutting the connective tissue that holds the intestines and stomach in place. Slowly work your way from the diaphragm down towards the anus, freeing the organs as you go. Once you have detached the intestines and stomach, pull them away from the deer and set them aside for disposal.
Step 6: Remove the Diaphragm
The diaphragm is a thin layer of muscle that separates the abdominal and chest cavities. Use your knife to carefully cut along the edge of the diaphragm, where it meets the ribcage. Be sure to cut through any connective tissue that may be holding the diaphragm in place.
Step 7: Remove the Heart, Lungs, and Esophagus
With the diaphragm removed, you can now access the chest cavity. Reach in and grasp the heart, cutting any connective tissue or blood vessels that hold it in place. If you wish to keep the heart, place it in a plastic bag for later. Next, remove the lungs by cutting through their connective tissue and blood vessels. Finally, sever the esophagus as high up as you can reach, and pull it down and out through the chest cavity.
Step 8: Drain Excess Blood and Clean the Cavity
With all the internal organs removed, lift the deer’s hind legs to drain any excess blood from the body cavity. Use a clean cloth or paper towels to wipe down the inside of the cavity, removing any remaining blood, dirt, or debris.
Step 9: Transport the Deer
Now that your deer is field dressed, it’s time to transport it back to your vehicle or camp. If possible, use a rope or gambrel to hang the deer from a sturdy branch, which can make it easier to carry. Alternatively, you can use a deer cart or sled to help transport the carcass over long distances.
Step 10: Properly Dispose of the Entrails
Once you have transported your deer, return to the site where you field dressed it and properly dispose of the entrails. Burying them or placing them in a designated offal pit can help prevent scavengers and predators from being attracted to the area.
Conclusion: Field Dressing a Deer Successfully
Field dressing a deer is an important skill for any hunter to master, as it helps ensure the quality of the meat and makes transporting the carcass easier. By following the step-by-step guide outlined above and taking the necessary safety precautions, you’ll be well on your way to successfully field dressing a deer in no time.
Remember, practice makes perfect, so don’t be discouraged if your first attempt isn’t flawless. With experience and the right tools, you’ll become an expert in field dressing deer, helping to ensure your hunting trips are always successful and rewarding.

 Responsible and Sustainable Deer Hunting Practices